Before we get started with the platform tour, you’re going to need to set yourself up with an account, this will require your company email address, as well as a secure password that’s memorable.
Step 1: Follow the email invitation
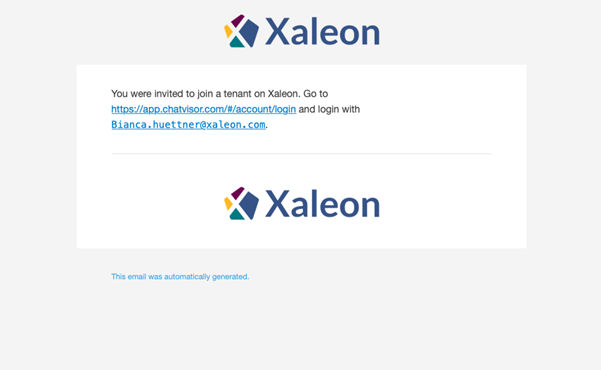
Once your team lead or admin adds you to your company's TeamViewer Engage installation, you will receive an invitation email. Eventually, you have already received such an email when you're reading this page.
Step 2: Registering your account
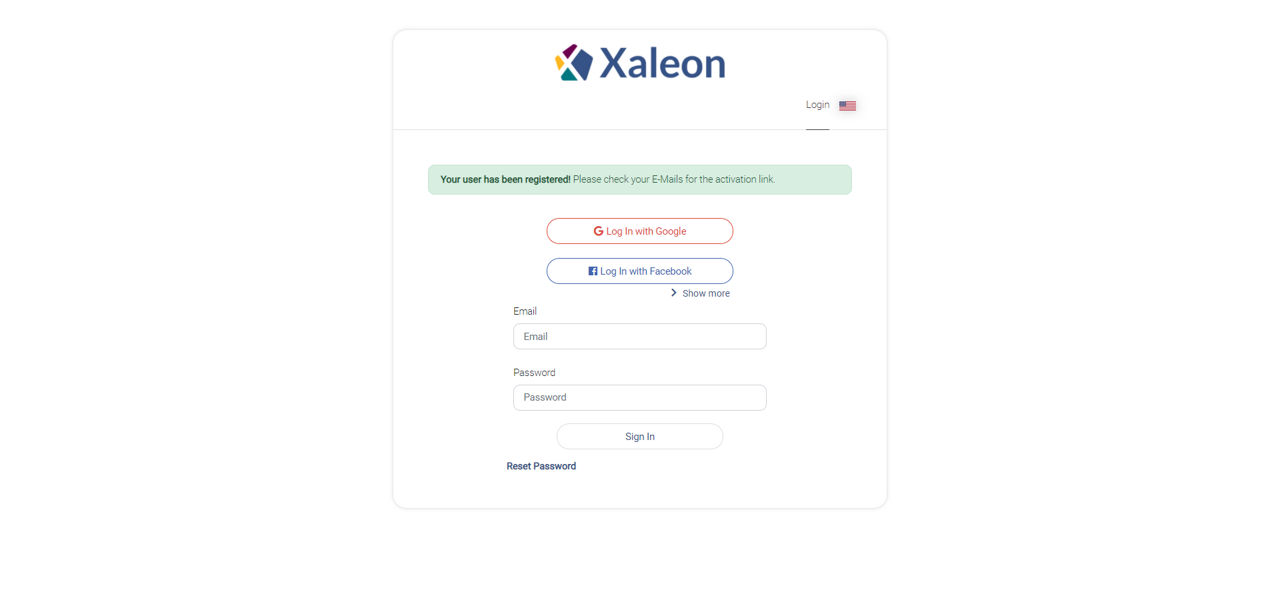
Once you follow the link in the registration email, you will land on the initial setup page for your new TeamViewer Engage account. Here, you will be asked to enter your preferred name as well as set a new password. Please keep this password safe. If you forget it, your admin can help you. Your company will have rules around this, please double-check with them before opting for your own setup.

Step 3: Activate your email address
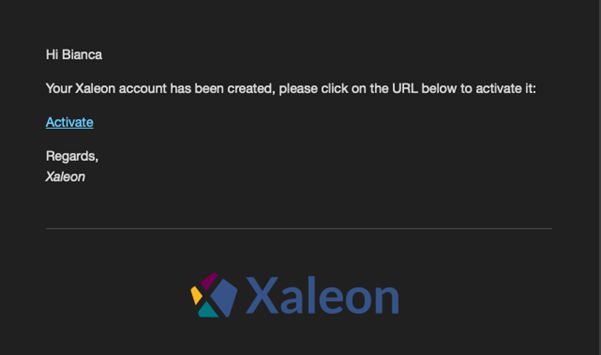
After setting up your account, you will land on the confirmation page. It’s time to check your email and activate your account.
The email you receive to activate your account will look something like this. To activate your account, simply click on the ‘Activate Button.’
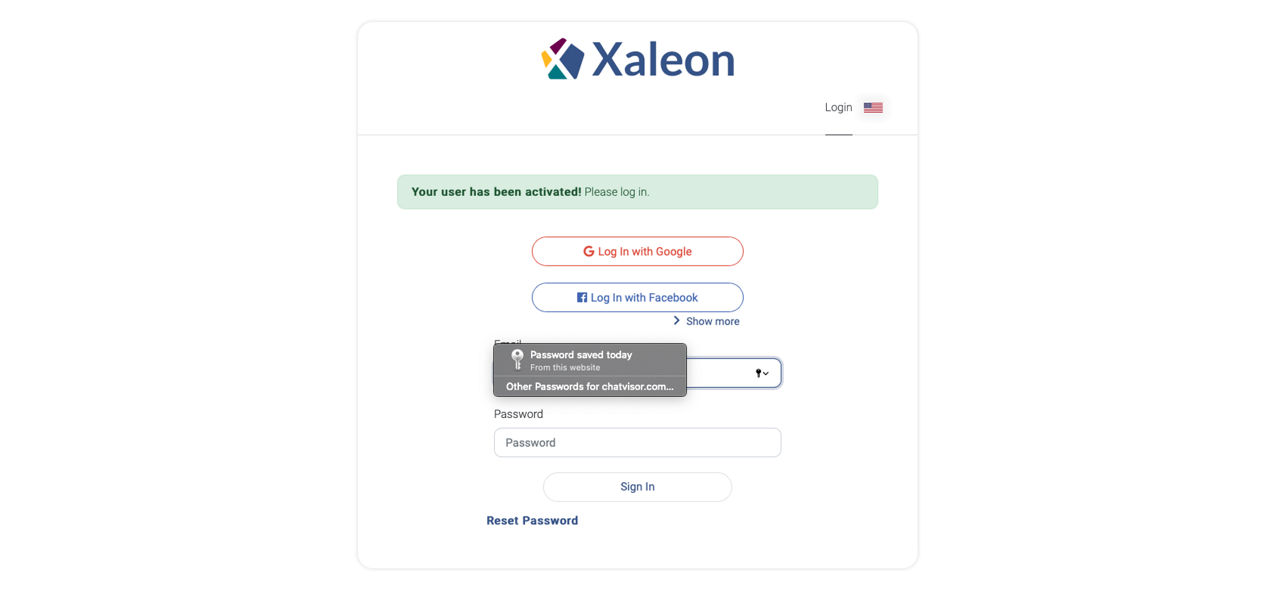
You will now be able to login to your account.
Step 4: Add an avatar
Once logged in, you will land on the main dashboard page. One of the first steps you can take is uploading a profile image and making sure your display name is as you wish it to be. Simply navigate to the top right and click on the avatar or profile image:

You can also change your password and sign out of your console from here should you need to.