Adding new Android devices becomes that much easier with TeamViewer's Mobile Device Management (MDM) Android bulk enrollment solution. This allows you to register multiple Android devices using the device identifiers. This can be done by uploading a CSV file containing the information.
This article applies to all TeamViewer MDM customers.
How to set up bulk enrollment for TeamViewer MDM
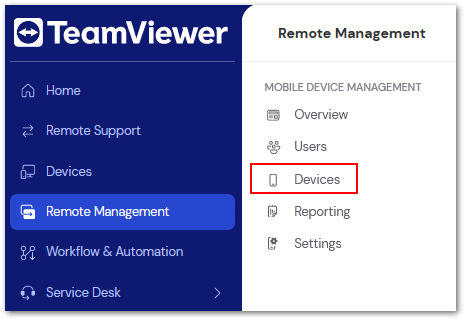
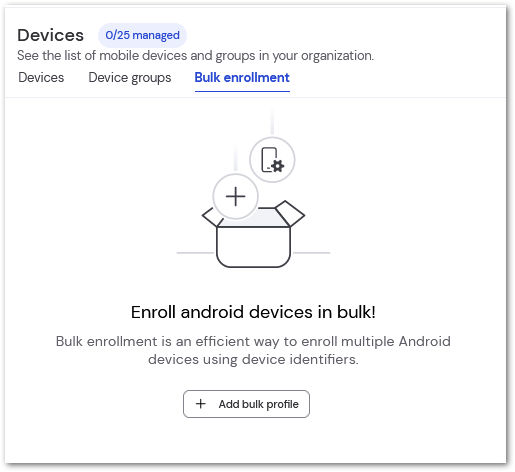
The first step is to create the required profile. In TeamViewer Remote or the web app, navigate to the Remote Management tab and then to Devices, located underneath Mobile Device Management. Select Bulk enrollment at the top of Devices. Select + Add bulk profile to begin the process.
Hint: If you have already created one previously, you can create a new one using the same button located in the upper right corner.
Add bulk profile
In the Add bulk profile setup screen, enter the desired name and description for the bulk profile.
Note: Devices must be factory reset in order to be added.

Upload CSV
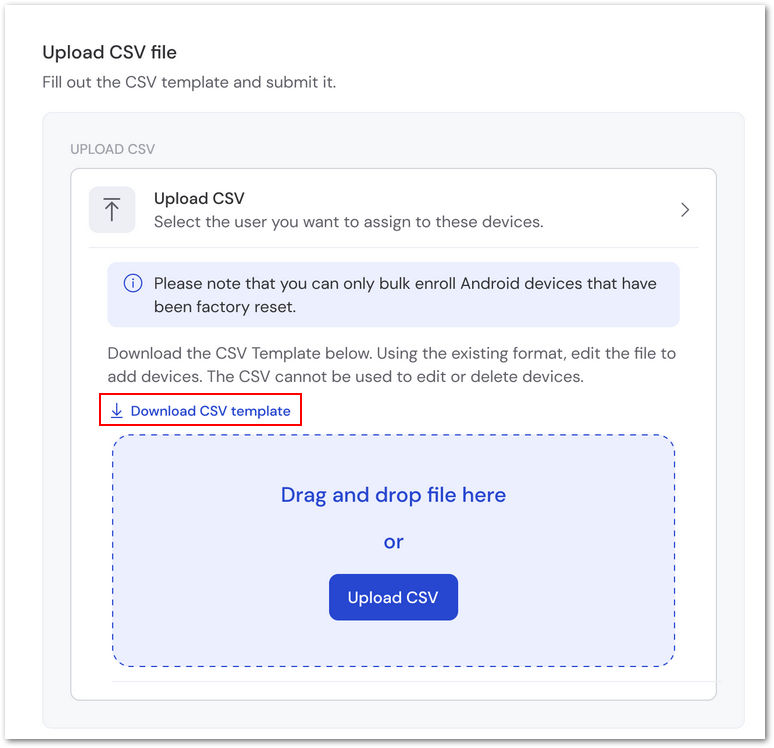
Next you will upload the CSV file containing the desired device information to enroll. If you have not yet created one, you can download our CSV template to create one.
Note: The CSV allows up to 200,000 rows at a time. It cannot be used to edit or delete devices.
CAUTION: Rows with inadequate information may result in CSV upload failure. Each record should include at least the serial number and manufacturer information, or the IMEI value.
After editing and saving the CSV file, click attach the file and click Upload CSV to begin the process. Once the upload is completed, the new file will replace the upload option in the CSV window.
Bulk enrollment scenarios
The following table explains the scenarios on the outcome based on the attribute value combination entered for bulk enrollment:
Note: Manufacturer name is case-insensitive.
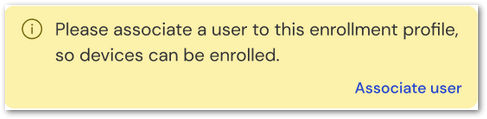
Associate User
Once the bulk upload is complete, the option to associate a user appears in the bottom of the device drawer.
Note: Please ensure you have distributed the configuration Android Enterprise: Work Managed Device to this user.
Bulk enrollment profiles
Once saved, the following details of the uploaded CSV file are displayed in a table, located under Bulk Enrollment:
- Profile name
- Number of devices
- Associated user
- Last modified date
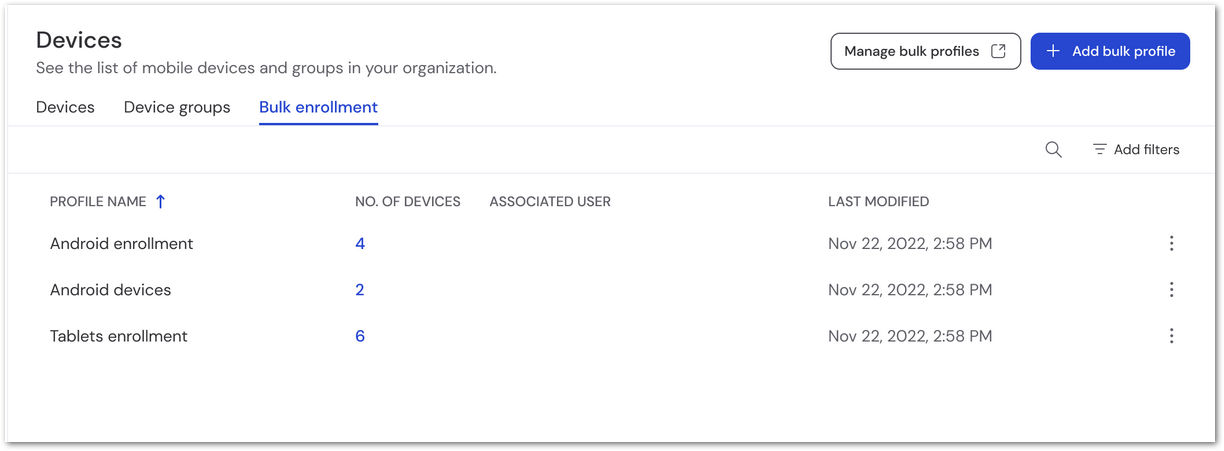
How to view all bulk enroll profiles
An overall display of all profiles can be seen in the list view, as well as additional actions:
- Show details: view details of a specific profile
- Edit: Edit profile
- Download CSV: provides downloadable report of selected profile(s)
- Delete: Delete's selected profile(s)
How to view a bulk profile drawer
By clicking on the name of a profile, you can access the profile drawer. This allows you to perform additional actions via the Edit menu drop-down.
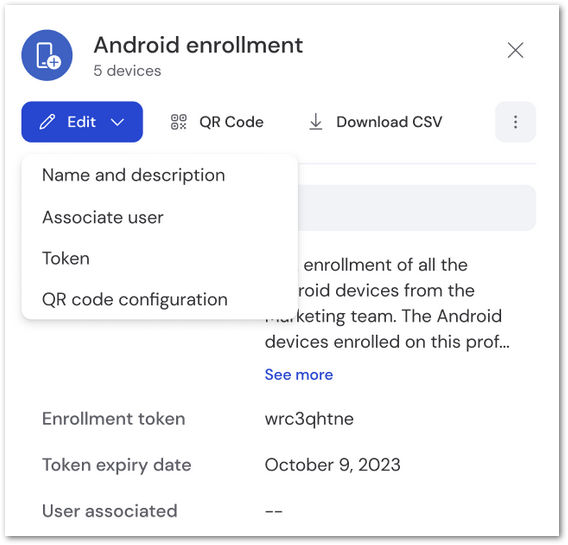
Edit name and description
Update the name and description of the bulk profile.
Associate user
Associates a specific user to the device.
Note: If a user is already assigned, this will change to Change associated user.
Token
Change the token expiration date or refresh it by clicking Refresh. Tokens can be set to Never Expires or Expires. If Expires is selected, an Expiration date must be added.
Hint: The number of days should be within the range of 7 to 99. Default token expiry is within 7 days.
QR code configuration
This allows you to apply configurations to the existing bulk enrollment. Ivanti-specific keys can be added here, as well as the ability to make changes to Pre-Defined Android System Extras or Custom Android System Keys.
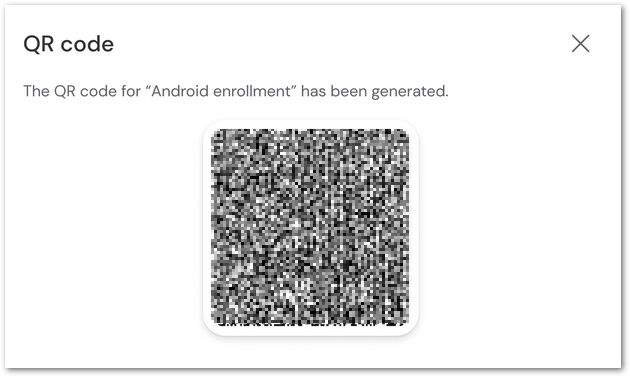
Note: Once complete, the QR code can be viewed by clicking the QR code at the top of the device drawer.
Delete
Completely removes the bulk enrollment profile. If you wish to use the same profile again, you must re-upload it.
How to view all devices in a bulk enrollment profile
To access a list of devices associated with a specific bulk enrollment profile, click the number in the No of devices column in List view.

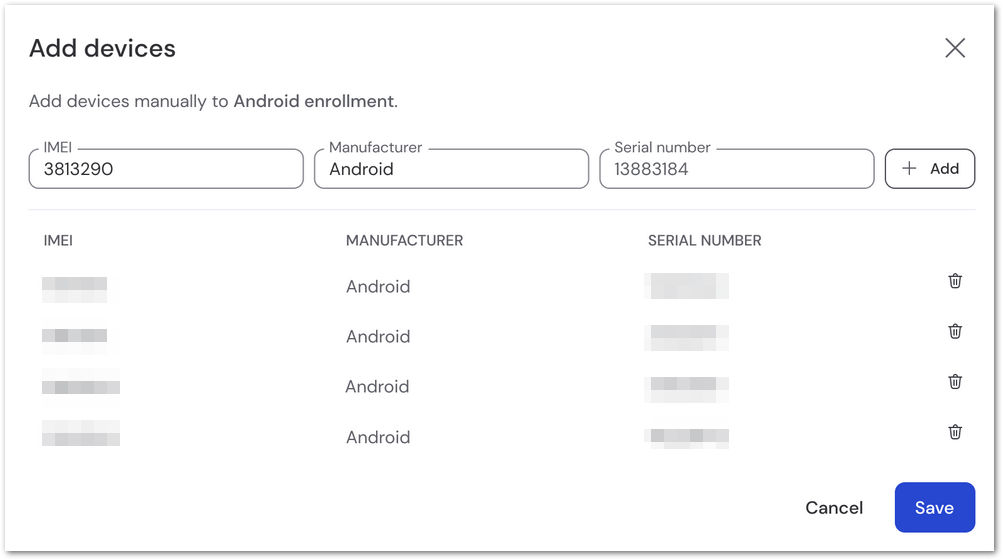
How to add new devices to a bulk enrollment profile
New devices can be added to a bulk enrollment profile using the CSV method previously discussed, or you can manually enter device information. To manually add a device, select +Add devices in the upper right corner and select +Add manually. On the following screen, enter the IMEI, Manufacturer, and Serial number of the device. Press save once done to finalize the process.

How to delete devices from a bulk enrollment profile
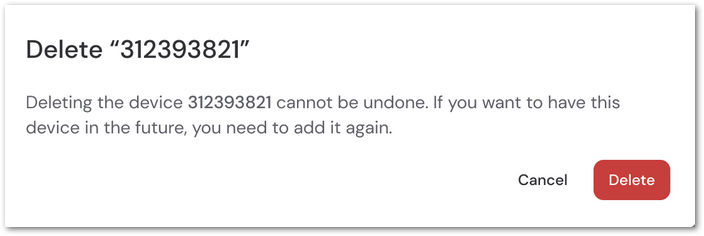
Any device associated with a bulk enrollment profile can be deleted once it is no longer needed. Select the desired device(s) by clicking the checkbox to the left and then select delete at the top. A confirmation will appear asking you to verify the deletion. Click yes to proceed.
How to set up bulk enrollment devices
Note: To bulk enroll a device, it must be restored to factory settings if it is not a brand new device. The device must also be running Android 7.0 or later.
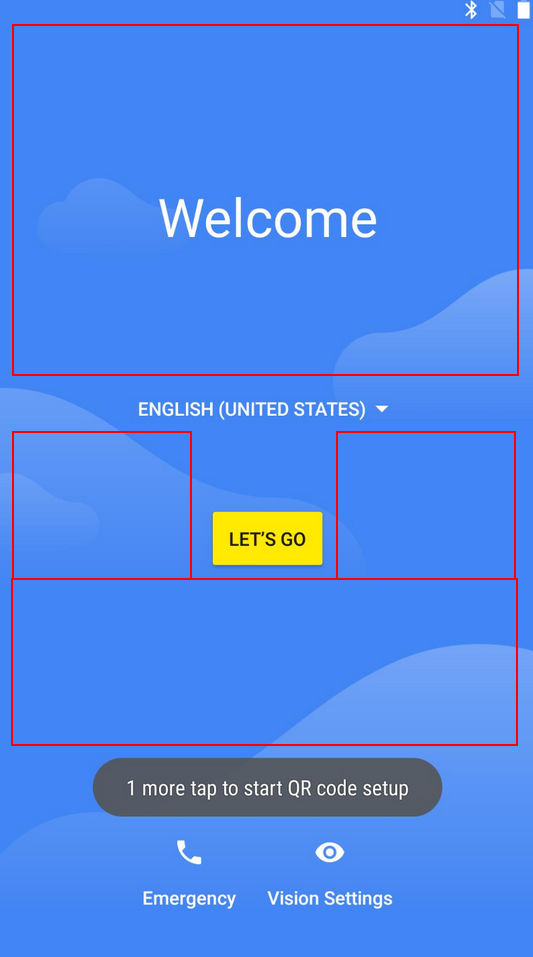
On the welcome screen, tap the screen 7 times anywhere except for an active part (ie a get started button). This will initiate QR code enrollment mode. On the next screen, select NEXT to turn on the WiFi (if the device does not have a sim), and enter your wifi credentials on the following screen.
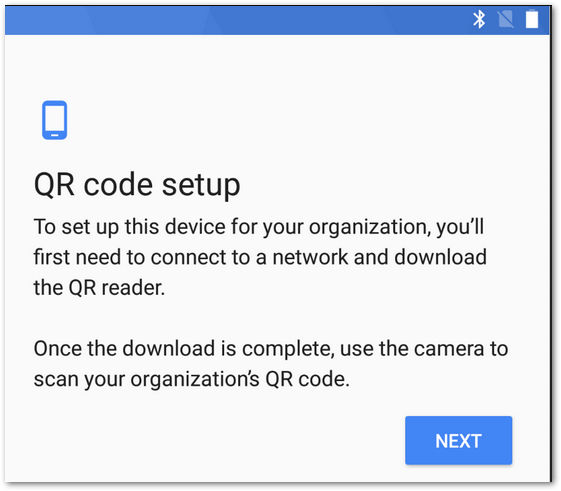
Once the WiFi credentials have been entered, the following screen will check for any updates and will then install the QR code reader.
Note: This can take up to two minutes.
After the QR reader is installed, scan the QR code generated on the Bulk Enrollment profile. Scan the code with the device to finalize the setup.